Tuesday, 31 March 2015

Patience Editing 1

Our first day of editing was very successful, we managed to practically finish all of the editing off in the time period which we had allocated to it, although some of the clips we had actually recorded were not up to a standard that we would have hoped for, so we did have to go back and re-film those parts and then we did have to go back and edit those in again. 
This is a screenshot of the finished video as it is now.

This is a screenshot of the timeline of the finished film in Premiere Pro and also shows us any edited fades, titles etc which we had implemented into the finished Media Product.
This is a screen shot of a single clip in the timeline and how we had to raise the volume on this sound clip in order to hear it over everything else.
This screenshot is of the edited sound which we had put in and shows us how we had to align the sound effect perfectly with the action in the film to make it seem realistic. 

Designing/ Making Title Sequence

In our group Destiny was in charge of producing the title sequence during the editing stage, this means that he was the one which had to decide which order to put everything in and also had to decide who got what role in the title's. 
After the ident this is the order which Destiny had decided to put everything in:
  1. A film by... (Director)
  2. Starring...(cast which feature in film)
  3. Music by...(Destiny and Jack)
  4. Editing by...(Destiny and Jack)
  5. Cinematography by...
  6. Set design... (Me)
  7. Make-up and costume design... (Me)
  8. Producer/producers...
  9. and lastly the Director...
In order to make the titles you have to do the following:

You can change the name of the title by clicking this, then changing [Title...] to what you want to call it.

Once you have clicked OK this window will appear where you can change the font, text size and the colours if you wish to, then once everything is correct just click the close button at the top right of the window and the title should appear in the bottom left box of the screen where the rest of the clips are located:

From the box shown you can just drag it into the timeline where you want it to be:

You can also add fades and other such transitions into the title in order to make it fit better into the film and not just suddenly appear out of nowhere which would just look bad anyway.

Sunday, 29 March 2015

Past student Thrillers

Hidden
 The story line of hidden is basic, whereby a boy is walking his girlfriend home, when a murderer appears from the shadows and kills the boy outside of his girlfriends house. Unfortunately, the worst part about the film opening is the lighting used is far too dark to really see what is happening or for us to get a grip on the story. The choice and use of camera angles and transitions parallel with the lighting makes it hard for the audience to properly understand what is happening, a burden that the audience shouldn't have to carry on behalf of the film makers.

 Powercut
 This previous student Thriller opening has an easy to understand story on the surface, but without the use of dialogue to explain what is happening and some shots lasting too long enabling the audience to see camera shakes and human errors to filming. The film shows two characters, one teacher and one student, and while one person stays in a classroom to do work, the other leaves with a screwdriver, hacks into the school lights and comes back, with the ending scene being the two characters staring at each other. As previously mentioned, human errors while filming mixed with the transition effects by the bucket load make the film seem unprofessional and hard to get immersed in.
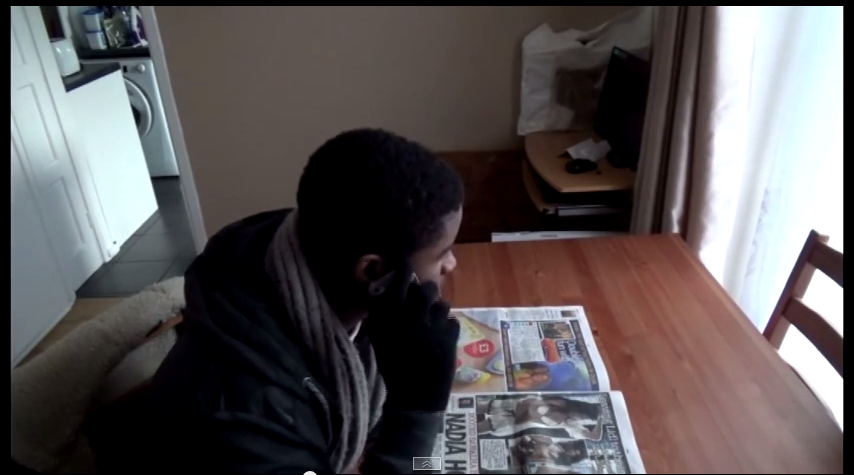
After Eight
While i'm not too sure on the story of 'After Eight', the actual acting and the use of mise-en-scene and dialogue makes it a successful opening. It is easy to keep you immersed due to the seemingly regular actions mixed with the strange shots of a bloodied axe. It is also to hold immersion, as there are not any transition effects and only parallel and diegetic sounds.

The Catalyst
 'The Catalyst' is probably one of the better student openings to a thriller, as with a good use of mise-en-scene and action we can get a general overview of the story with next to no dialogue. It is easy to follow what is happening and at no point we are confused about the story apart from the end with the child, but that may have just been me. However, the only true problem with the film is hot animated the sniper scene is. While attempting to add motion to make it seem more realistic, the actual style and way that it is pulled off seems somewhat unrealistic.

Saturday, 28 March 2015

Patience 3rd Production meeting

The third production meeting was the meeting that we decided to reshoot certain parts of our Thriller Opening that we discovered weren't great. The problems were either it being to dark to film outside in certain parts, or the shots of Destiny speaking only being from one angle. Another shot that had to be redone was Azimul bargaining for Sam's safety, where in the first draft Azimul was not very convincingly sad. Luckily we were helping out another group with their Thriller, and we could use that time to film that one scene and make the sequence more convincing.
 This meeting took place after the first draft was published, giving us the opportunity to realise our problems by the time the final draft was due.

First Draft/Evaluation


As our first draft, we knew that there would be some aspects to it that would need changing and redoing. There are some shots that run for too long, and during Destiny's scene of talking to Azimul, we only used one shot the entire length of the conversation. There were also problems due to lighting, and from the short amount of time we were filming the light became dark, and what only is about two minutes of actual footage looks like it took the majority of the day.
 Despite this, while only a first draft, out group is fairly happy with the result.

Styles of editing

Thrillers, such as 'Birdemic: Shock and Terror' generally have a certain pace and style of editing about them. While these styles and techniques are used by other genres, almost all thrillers contain these handful of techniques.

 One technique that is used by thrillers is the pace of editing in certain shots. In action or important points of the story, the duration that a single shot will last on the screen will be considerably shorter than a shot during a phone call shot, for example. This technique is either to build tension and adrenaline with the audience, making action scenes appear far more frantic and movement based than if the shots were longer. On the other hand, longer shots are used at times where the protagonist is in no danger, or at calmer times of the story. This is to make the audience more secure and be lulled into safety, the same applies to the pace of the music in a shot.

 When one shot moves to the next, it is called a transition. These transitions take multiple forms and can be used to represent different things.

 The most common transition is a straight cut, whereby the shot abruptly ends and is replaced instantly with the next shot. This is the most common as it is the only shot that doesn't break immersion and keeps the audience focused on the film.

 A second transition style that is used in film is a fade, whereby the screen gradually turns either all white or all black, generally to show falling unconscious or becoming conscious, or to give the audience the feeling of a long time passing.

 Dissolves are shown when two separate shots are literally merged together, meaning that there is a time where the two shots are simultaneously on screen. This technique is used to show a connection between two places, people or objects, or to give the audience a clue as to what may happen later in in the film.

 The wipe is not used regularly in modern film, as it breaks continuity and doesn't look particularly professional. The wipe is where one screen pushes another off screen, and will often symbolize the passage of time moving.

 A Graphic Match is the technique whereby the film makers place two shots consecutively in order to create a smooth transition between them. This is done by placing certain objects in the frame of the first shot, then having something in the second shot with the same shape in the same location, and while everything else on the screen changes by the transition, that one object or persons figure stays the same.

 Finally a Jump cut is done by filming something, then filming the same thing from a different angle, often showing the pass of time or to seem as though a chunk of the scene has been removed from the middle., and we see the beginning and the end of the shot.

Shooting Schedule

Shooting Schedule

Day
Scene
Location
Equipment
Costumes
Props
Cast +Crew
 1:


 2: 


3:
Opening scene with telephone conversation.


Scene walking down the path and shed. 


Reshooting of the scene where walking down the path.
Sams house.


Sams house. 


Sams house and garden path. 
Camera, tripod, microphone.


Camera, Tripod, Microphone. 


Camera, Tripod, Microphone. 
Destiny wearing generic clothing.


Destiny in the same clothing, Sam in "rags". 

Destiny in same generic clothing. 
Newspaper. 


Sam taped up in the chair, Torch.


No props really. 
Destiny and azimul. 


Destiny and Sam. 


Just Destiny.